Step 1 – Assess the Hair
Examine the hair carefully.
Do not use if the hair is severely damaged, overprocessed, fragile, or unsuitable for further chemical restructuring.
Step 2 – Perform a Strand Test
Test a small hidden section before proceeding.
Do not continue if the test indicates excessive weakness or damage.
Step 3 – Prepare the Hair
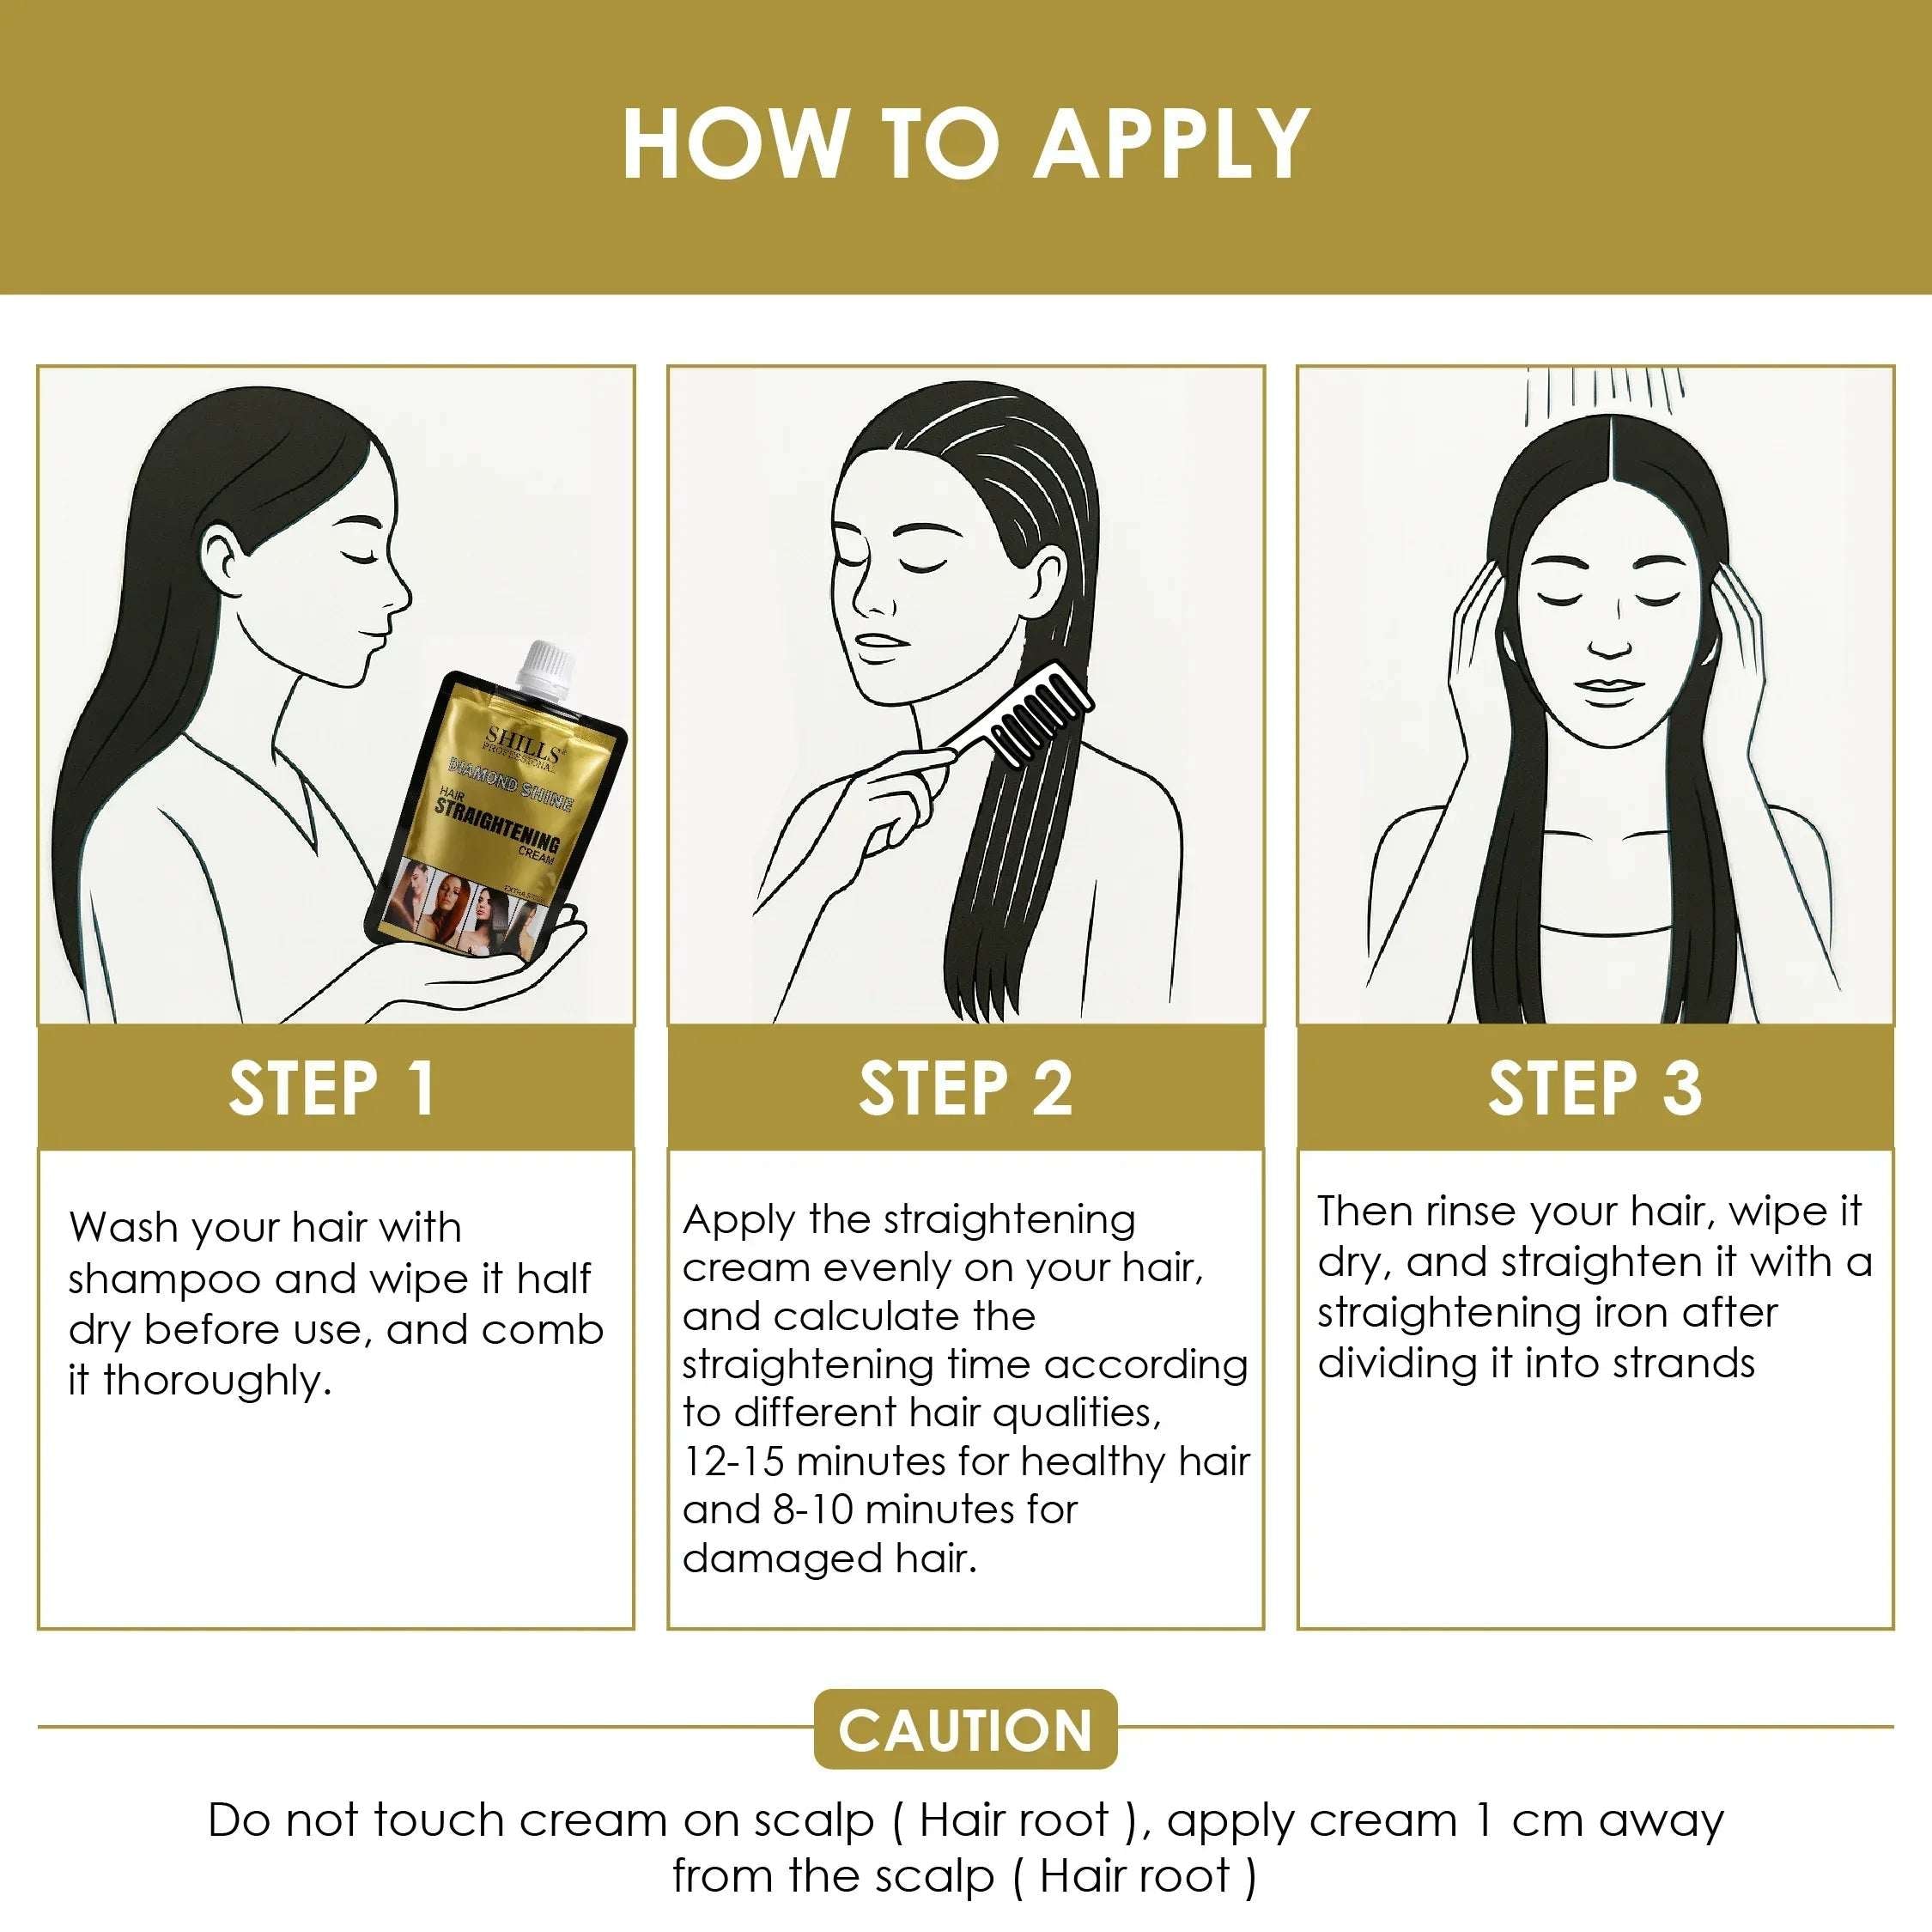
Prepare the hair according to the complete treatment system instructions.
Do not improvise or skip preparation steps.
Step 4 – Section the Hair
Divide the hair into small, clean sections.
Controlled sectioning helps achieve more even application and processing.
Step 5 – Apply the Extra Strong Straightening Cream
Wear suitable protective gloves.
Apply carefully to the required sections according to the manufacturer's directions.
Avoid unnecessary contact with the scalp and skin.
Avoid excessive overlap on previously chemically straightened sections.
Step 6 – Monitor the Hair Closely
Because this is an Extra Strong formula, continuous monitoring is particularly important.
Do not leave the product on longer than recommended.
More time does not necessarily mean better straightening and may increase the risk of overprocessing.
Step 7 – Rinse Thoroughly
Once the correct processing stage has been reached, rinse thoroughly according to the system directions.
Ensure all straightening cream is removed.
Step 8 – Reshape as Directed
Complete any drying, ironing, or reshaping steps required by the compatible straightening system.
Step 9 – Neutralize
Apply the appropriate compatible neutralizing cream.
Neutralization helps stabilize the hair in its newly reshaped structure and is an essential step in many straightening systems.
Step 10 – Condition and Finish
After the neutralizing process, rinse thoroughly and follow with the recommended conditioner, mask, leave-in treatment, or serum.
Style as required.