Skip to content

FREE SHIPPING ON ORDERS ABOVE ₹999

  • NAIL ART
  • MAKE UP
  • HAIR CARE
  • SKIN CARE
  • TRACK ORDER
Login
Shills Professional
  • NAIL ARTNAIL ART
  • MAKE UPMAKE UP
  • HAIR CAREHAIR CARE
    • HAIR MASK

    • HAIR STRAIGHTENING CREAM

    • HAIR SPRAY

    • COLOUR HAIR SPRAY

    • HAIR WAX STICK

    • HAIR FIBER POWDER

    • SHAMPOO

  • SKIN CARESKIN CARE
  • TRACK ORDERTRACK ORDER
Login Cart 0
Cart

Your cart is currently empty.

Not sure where to start?
Try these collections:

  • CAT EYE GEL POLISH
  • MAKE-UP
  • EYE
  • HAIR
    Taxes and shipping calculated at checkout
    Subtotal
    ₹ 0
    View cart
    Recently viewed
    Search
    Home Shop All 0 Cart Account
    Poly Gel Brush - Shills Professional
    Poly Gel Brush - Shills Professional
    Poly Gel Brush - Shills Professional
    Poly Gel Brush - Shills Professional
    Poly Gel Brush - Shills Professional
    Poly Gel Brush - Shills Professional

    Poly Gel Brush

    ₹189 ₹199 Save ₹10

    MRP inclusive of all taxes

    Delivery within 5–7 business days
    Poly Gel Brush

    This site is protected by hCaptcha and the hCaptcha Privacy Policy and Terms of Service apply.

    5% Off for New Customers
    Use Code: FIRST5

    Secure
    Payment

    ₹

    COD
    Available

    Description

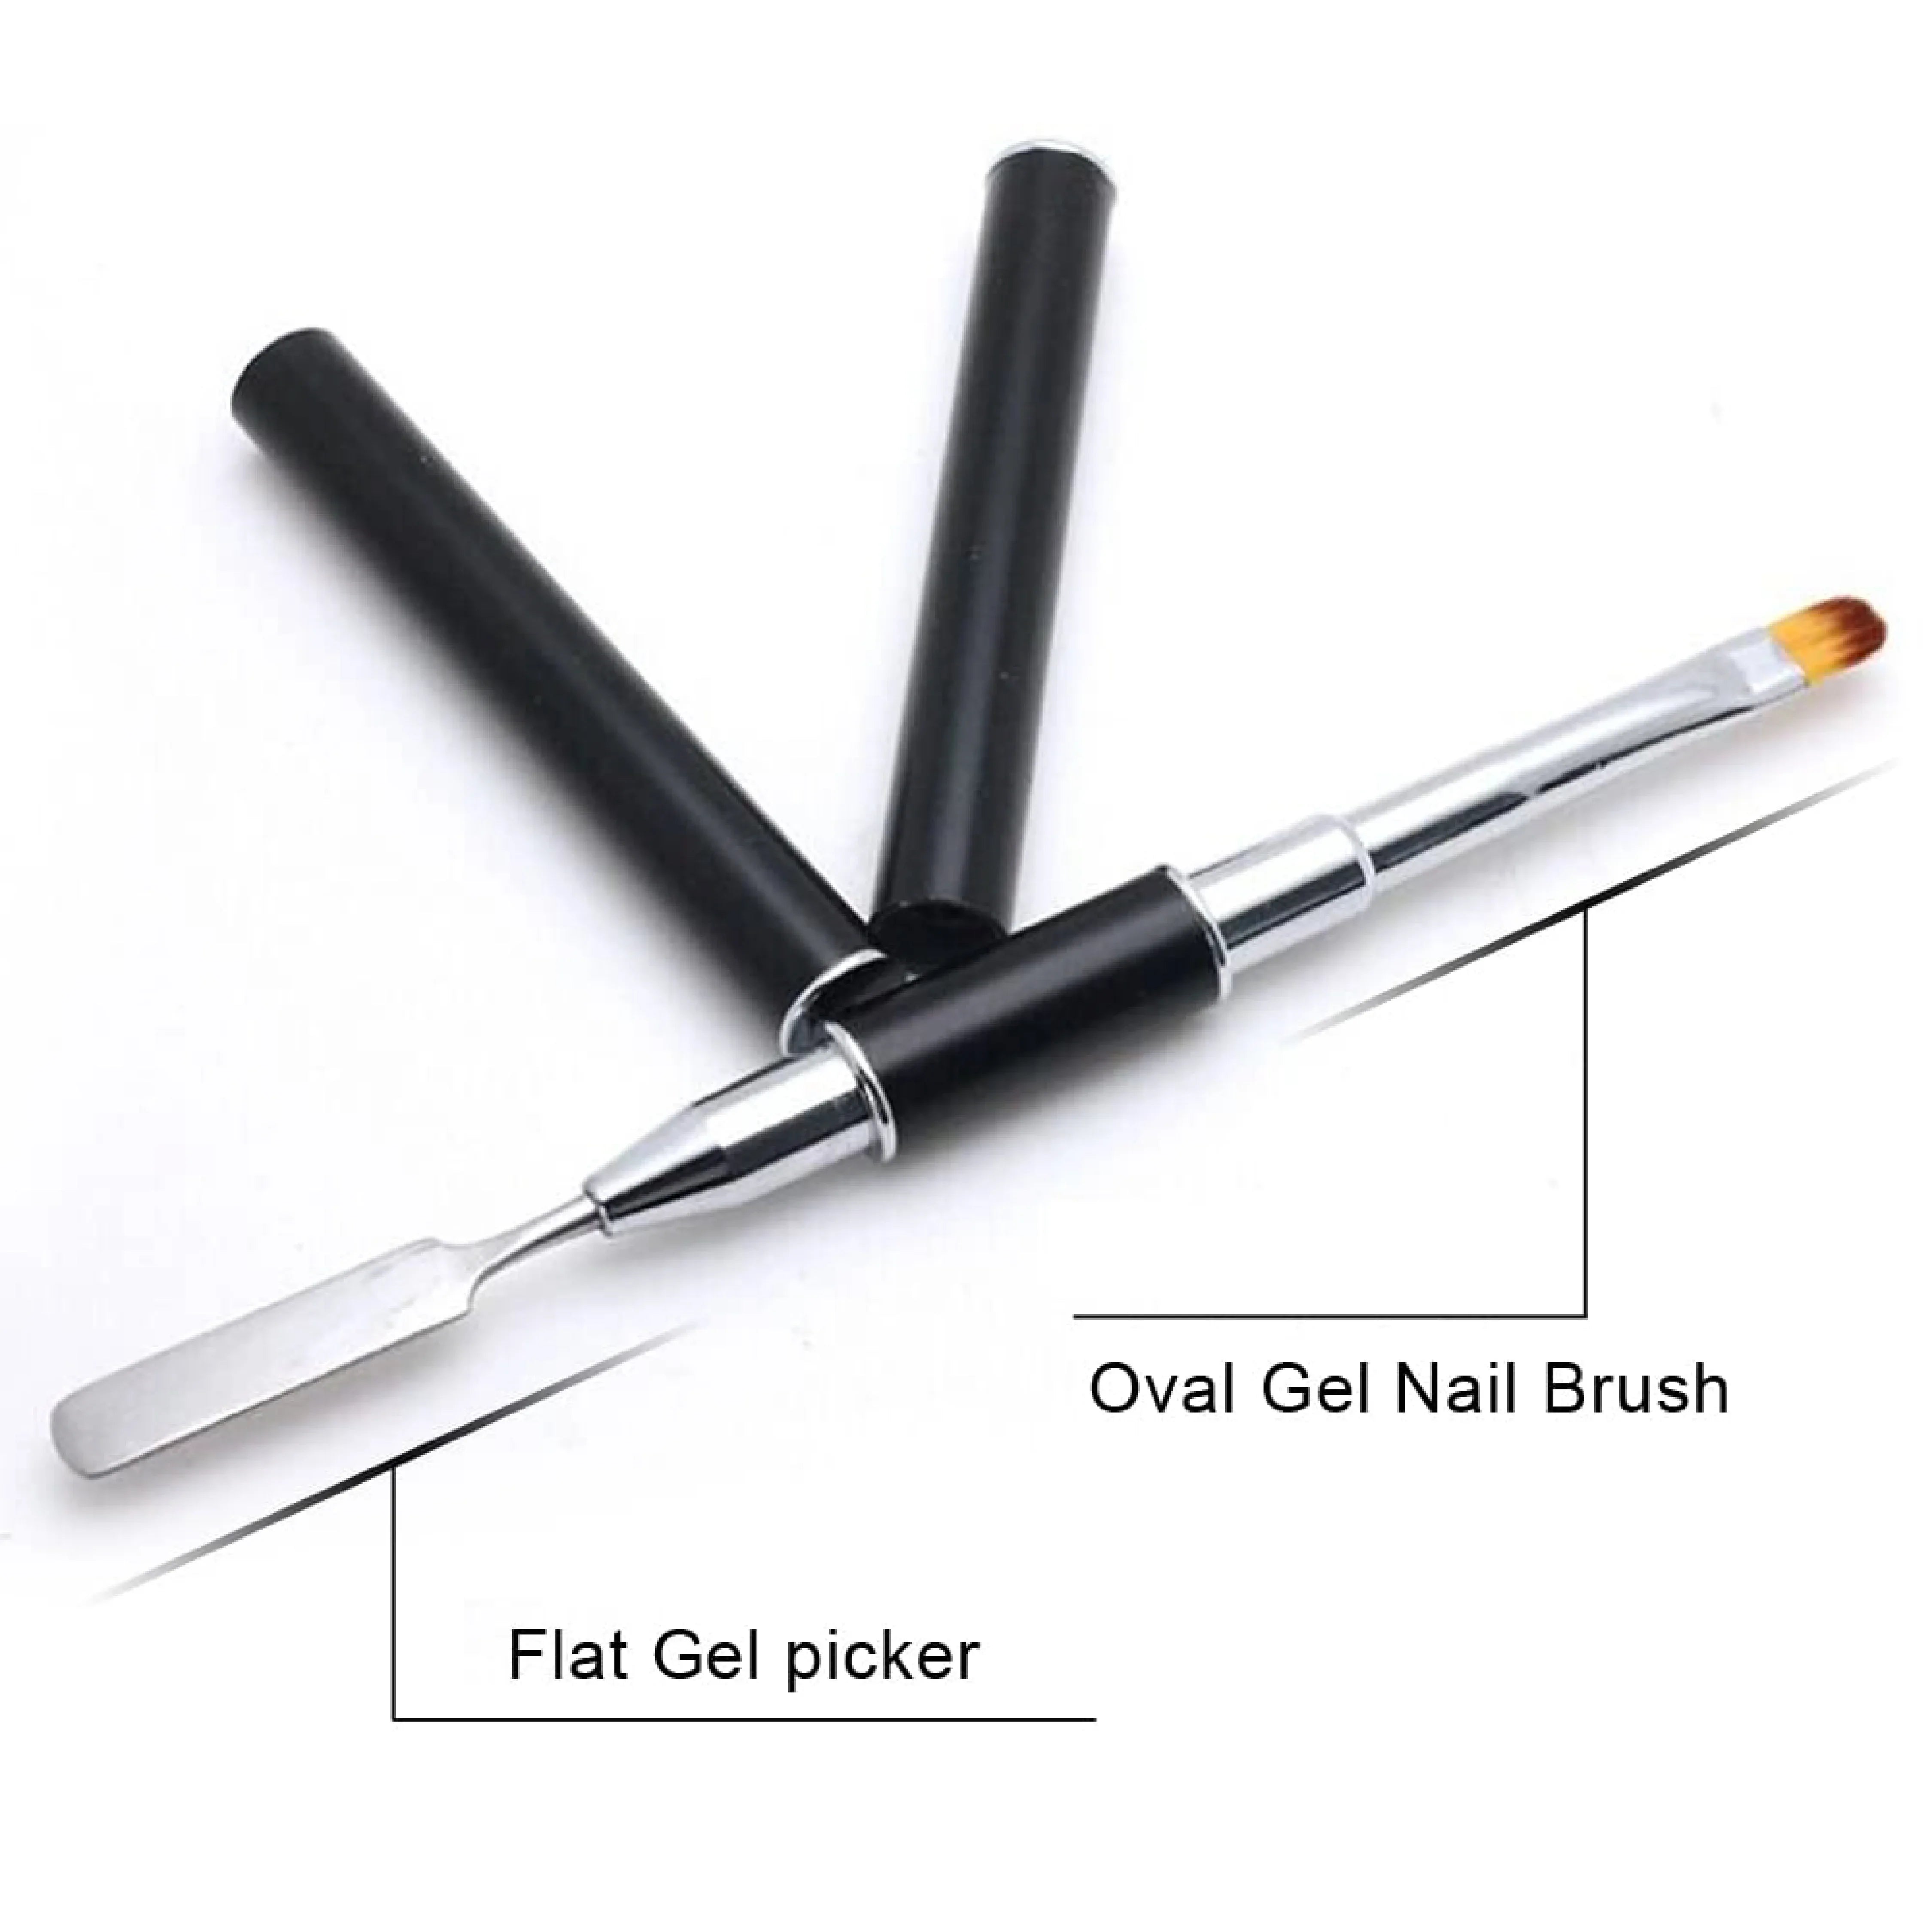
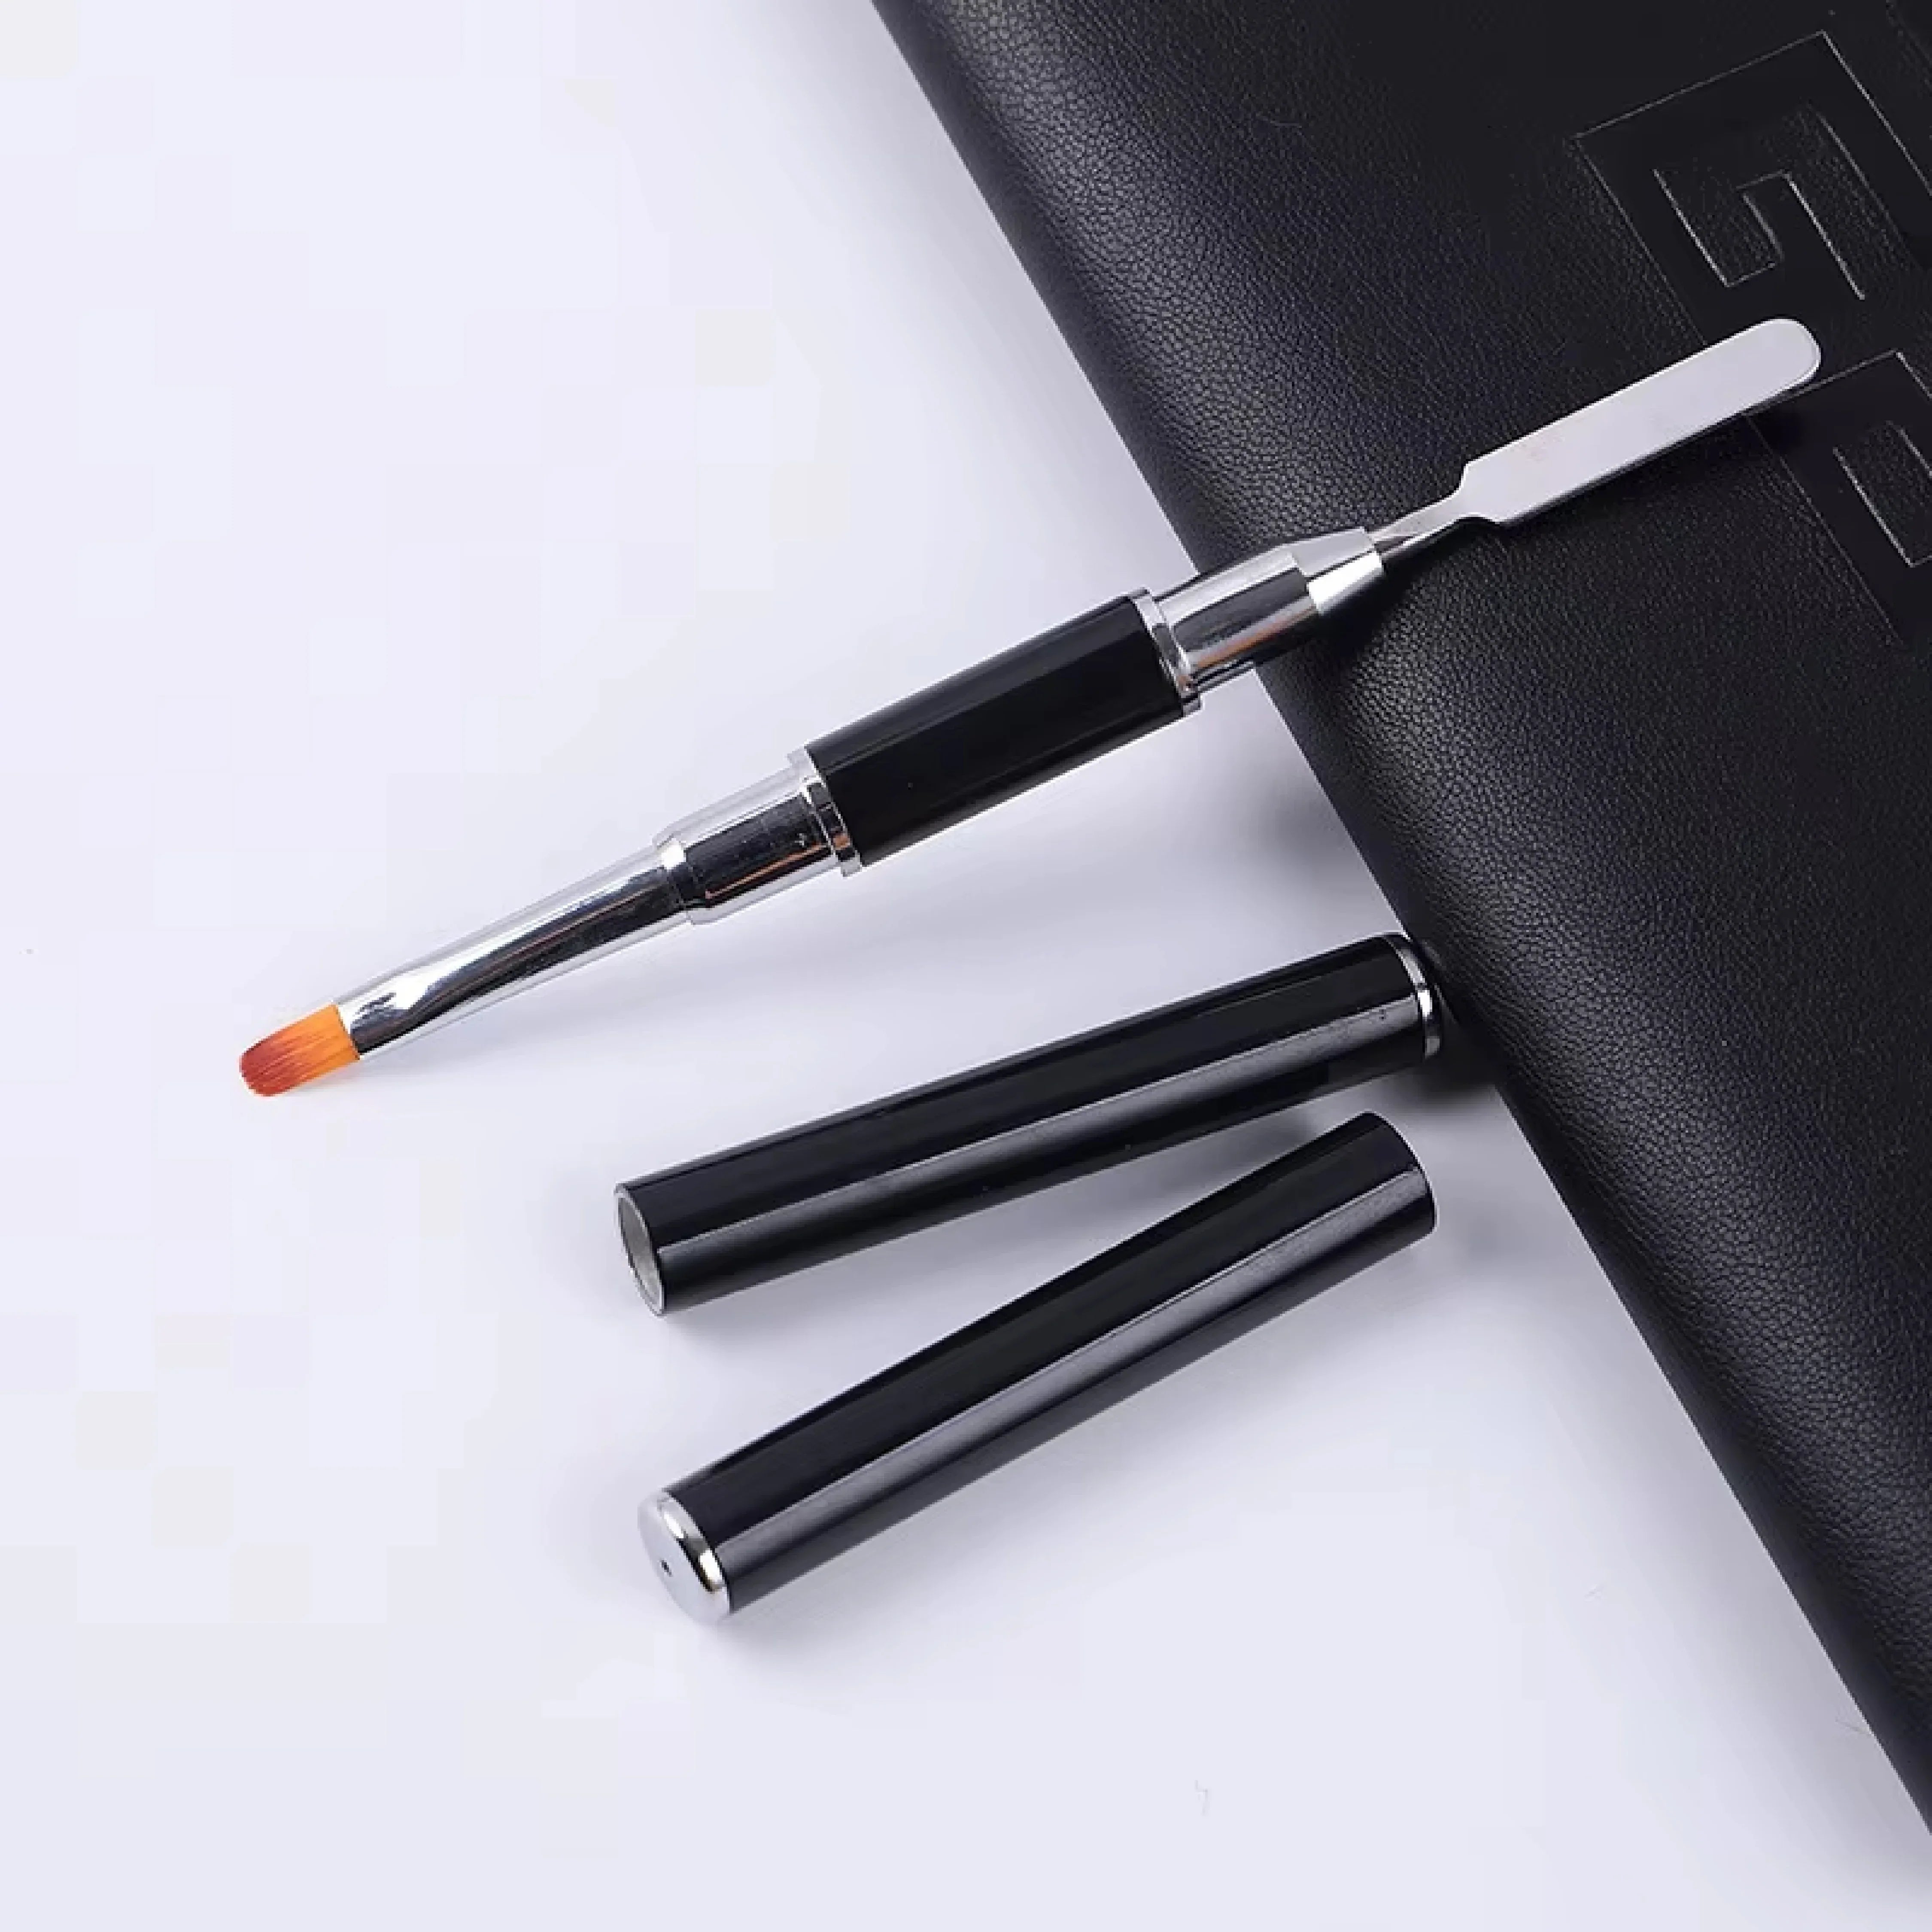
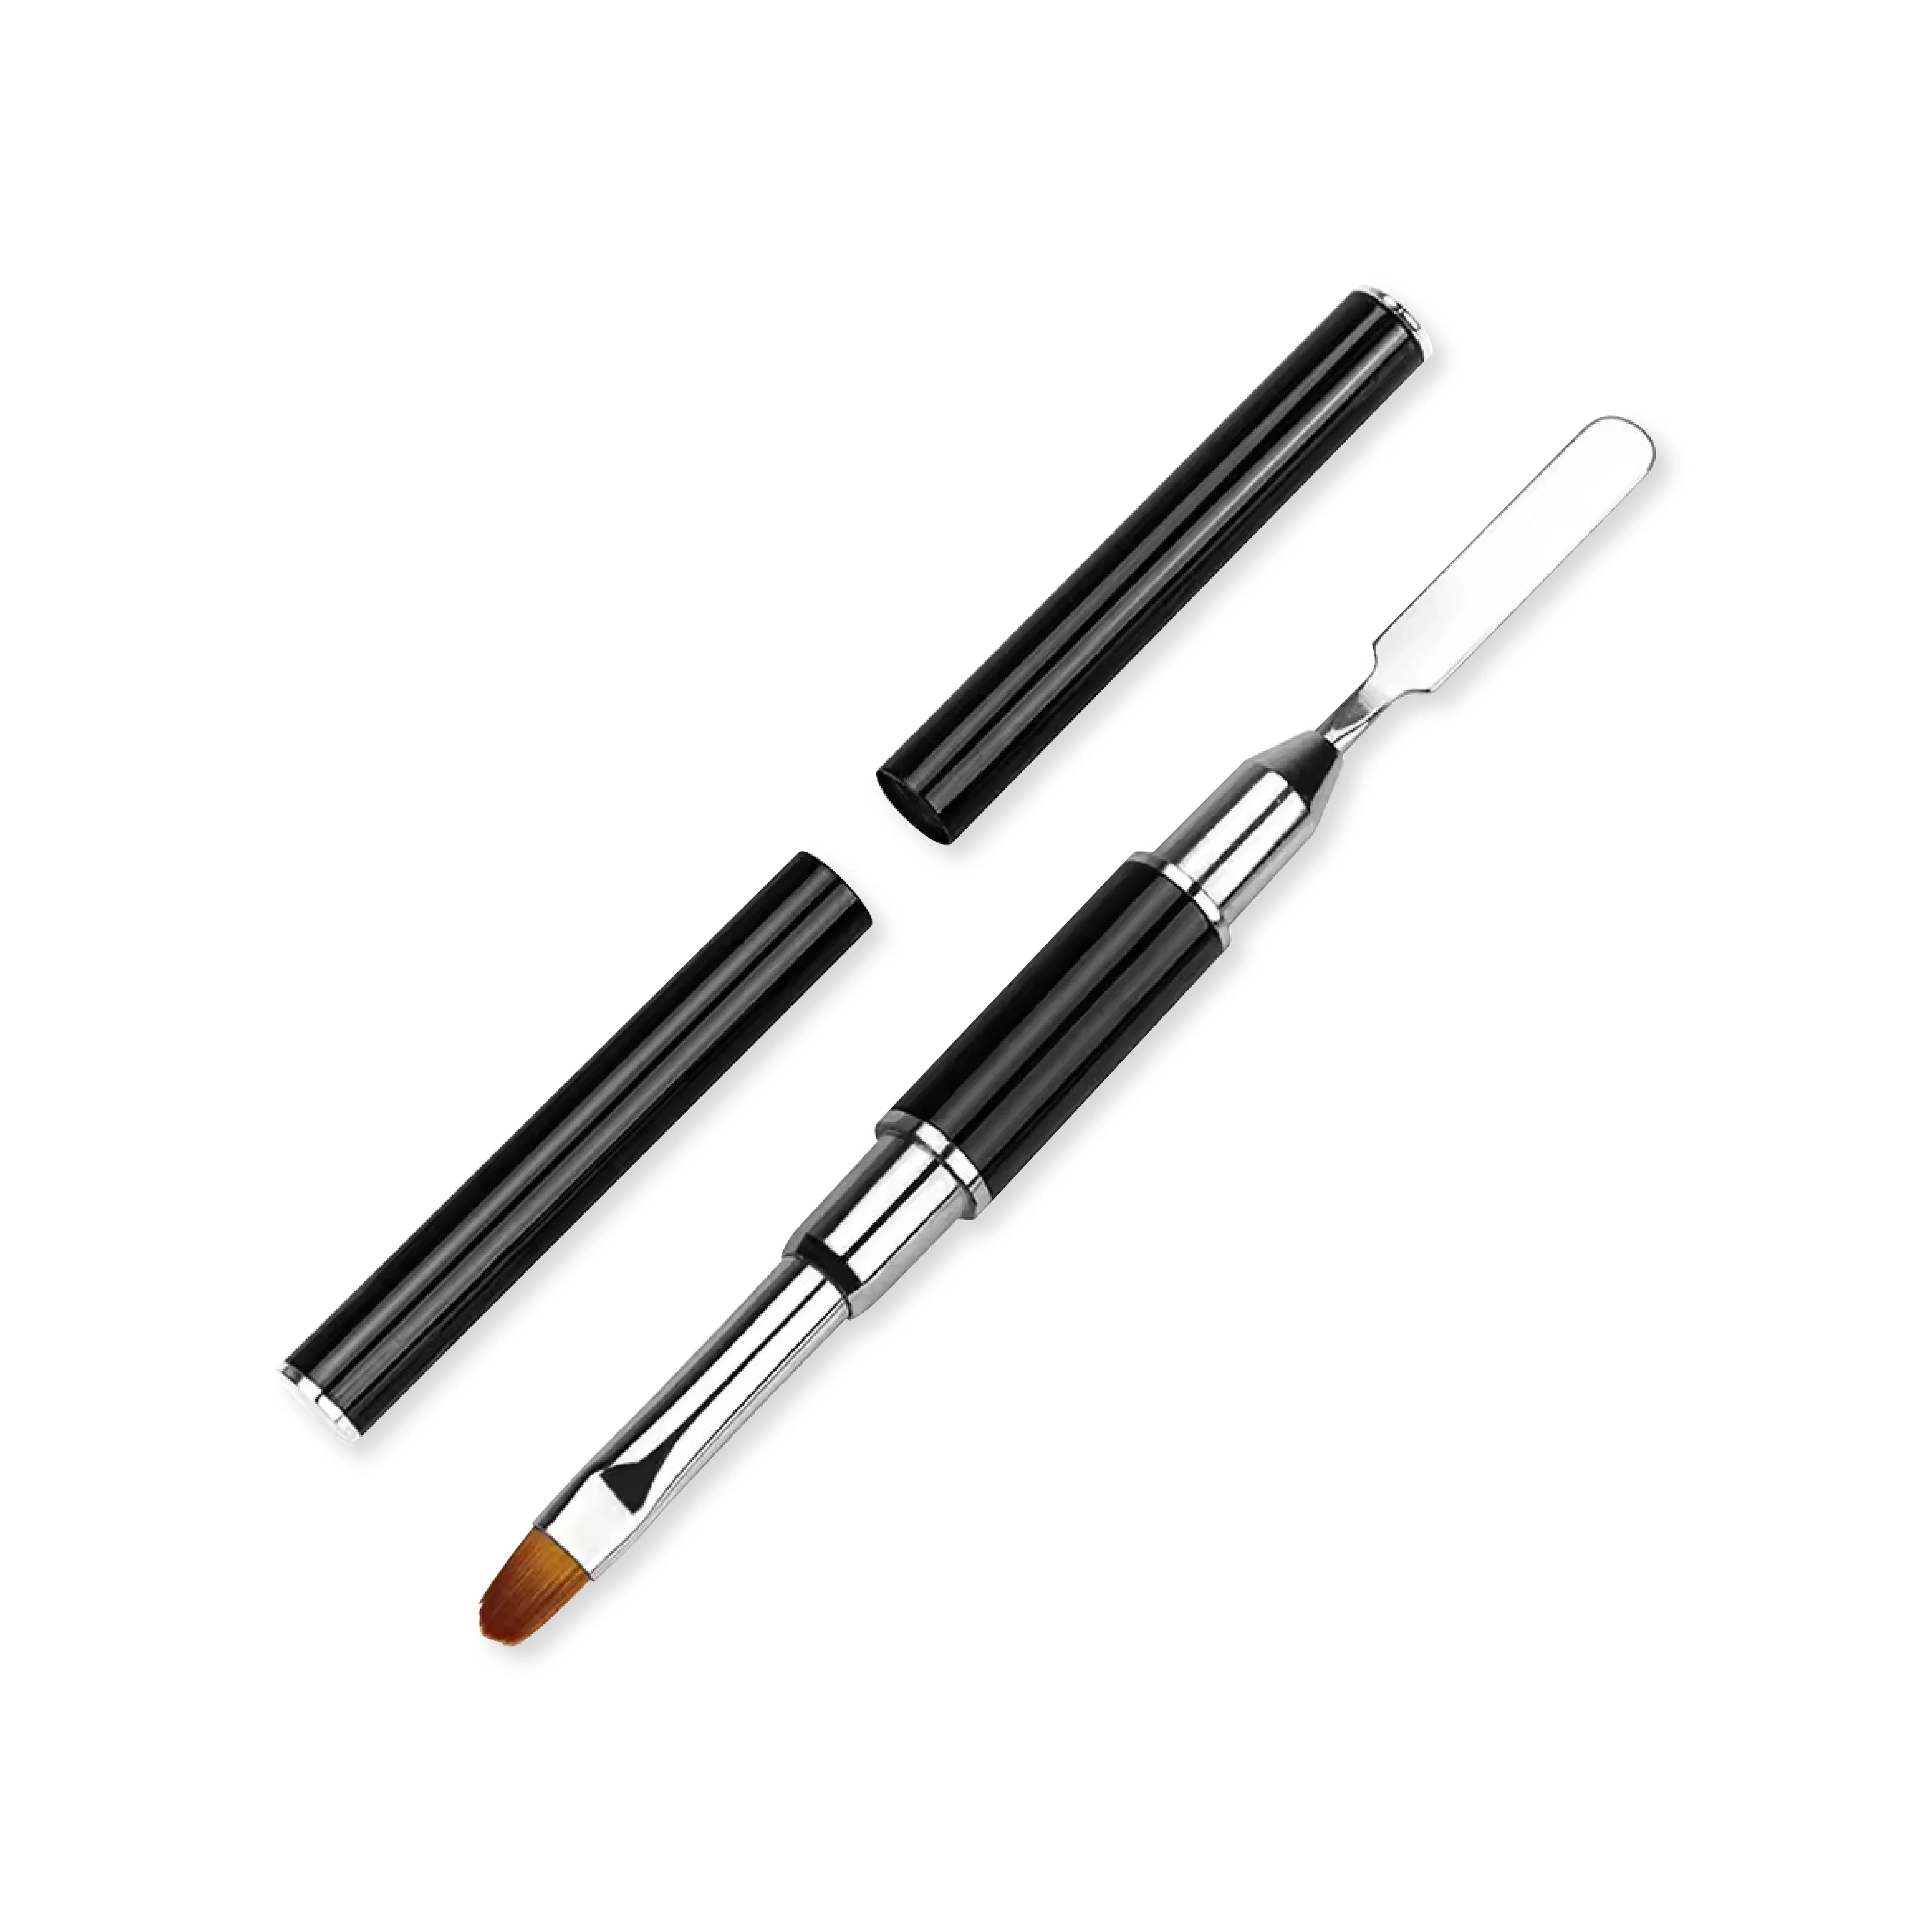
    Shills Professional Poly Gel Brush is a professional nail enhancement brush specially designed for the controlled application, spreading, shaping, and smoothing of Poly Gel during artificial nail enhancement services. Created to help nail technicians manage the thick and moldable consistency of Poly Gel, this application brush provides the precision and control required to build smooth, balanced, and professionally structured nail enhancements.

    Unlike a standard gel polish brush, which is primarily designed to apply thin layers of color or gel, a Poly Gel Brush is intended to manipulate a thicker enhancement material. The brush allows technicians to gently press, guide, and smooth Poly Gel across the natural nail, nail extension, dual form, or other appropriate application surface according to the Poly Gel system being used.

    The brush is particularly useful for controlling product distribution. Once Poly Gel has been placed in the required area, the technician can use the brush to gradually move the material toward the sidewalls and free edge while maintaining the desired thickness and overall nail structure. This helps prevent unnecessary product buildup and makes it easier to achieve a smooth surface before curing.

    Its precision also makes it useful when working around detailed areas of the enhancement. Controlled brush movements can help technicians refine the product near the cuticle area, maintain clean sidewalls, shape the free edge, and smooth the overall surface without unnecessarily disturbing the structure.

    A well-controlled Poly Gel application can also help reduce excessive filing after curing. By taking time to distribute and smooth the product properly before placing it under the nail lamp, technicians can create a cleaner initial structure that requires less corrective shaping during the finishing stage.

    Compact, reusable, and easy to incorporate into a professional nail kit, the Poly Gel Brush is an essential application accessory for nail technicians, nail artists, salons, nail academies, and students working with compatible Poly Gel enhancement systems.

    Key Features

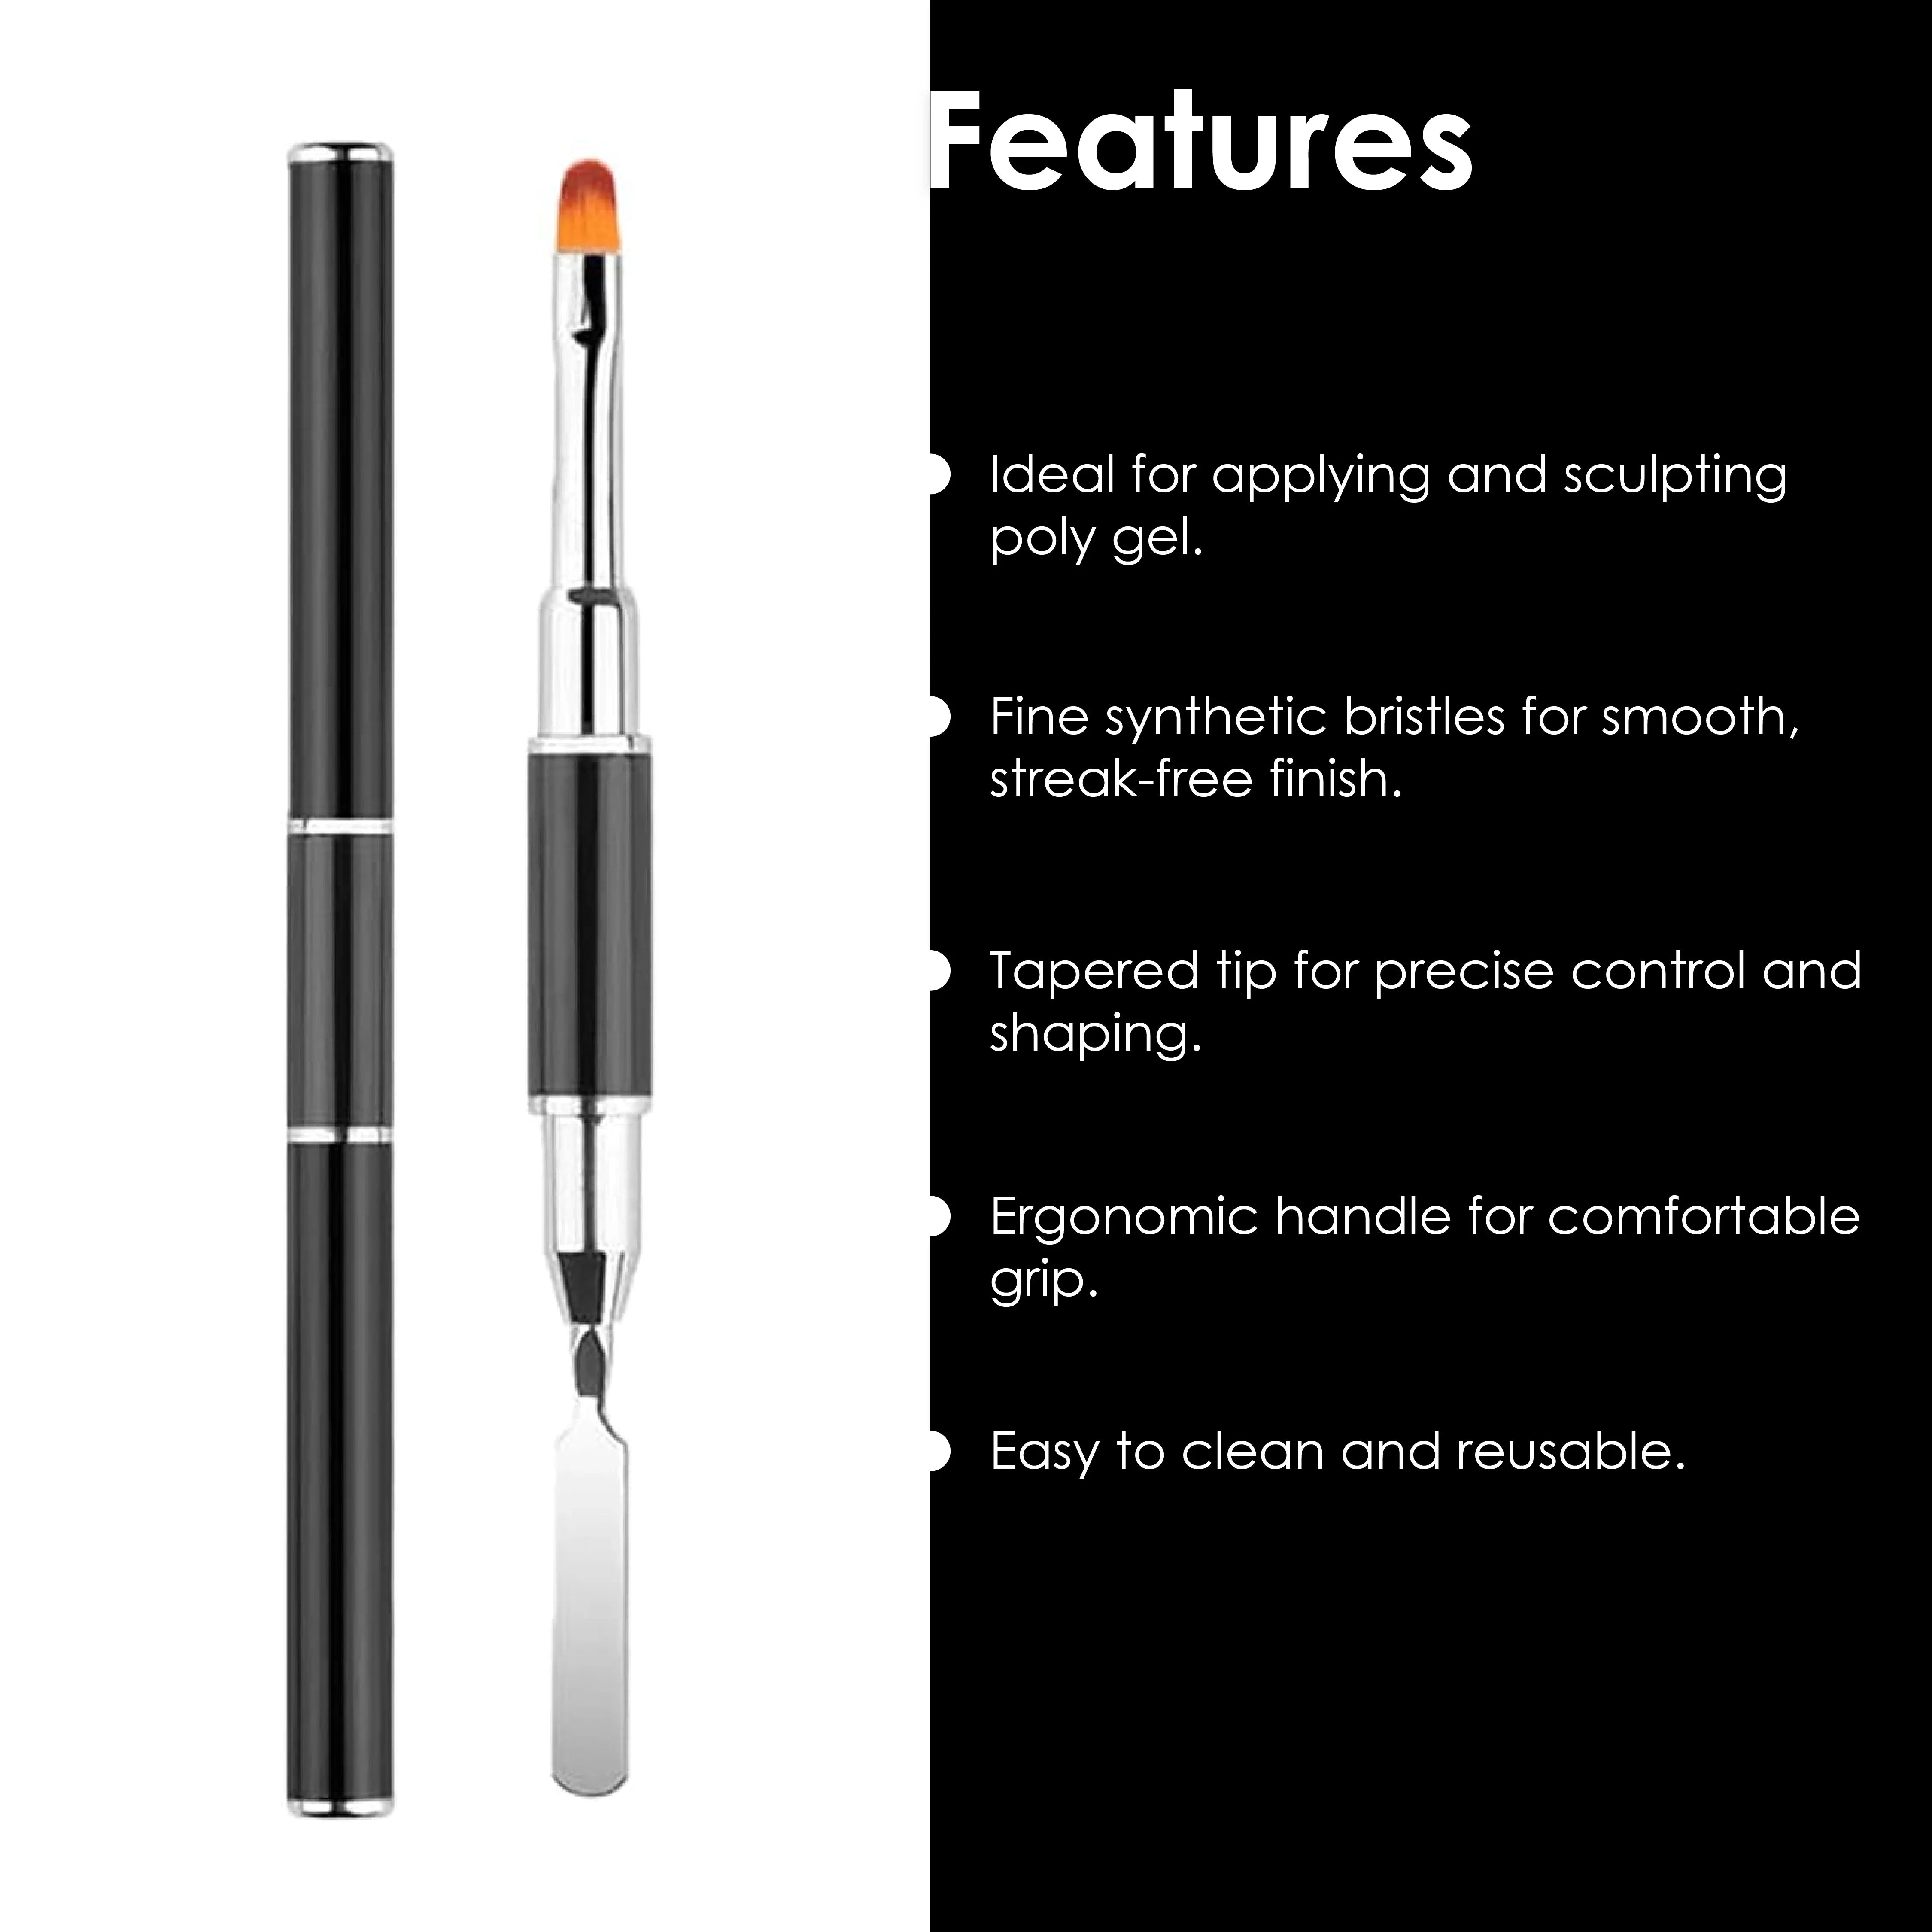
    Dedicated Poly Gel Application Brush:
    Specifically suited to the spreading, shaping, smoothing, and manipulation of Poly Gel during nail enhancement applications.

    Controlled Product Distribution:
    Helps guide Poly Gel across the nail or extension surface to achieve more balanced product coverage.

    Precision Application:
    Allows technicians to work carefully around the sidewalls, free edge, and other detailed areas of the nail enhancement.

    Suitable for Thick Poly Gel Consistency:
    Designed for manipulating the thicker, moldable consistency associated with Poly Gel rather than simply painting on thin layers like conventional nail color.

    Smooth Shaping Action:
    Allows Poly Gel to be pressed and guided gradually into the desired nail shape before curing.

    Helps Refine Nail Structure:
    Useful for distributing product according to the required thickness and overall enhancement structure.

    Supports Smooth Surface Creation:
    Controlled brush movements can help minimize bumps, ridges, and uneven product distribution before curing.

    Comfortable Nail-Art Tool:
    Designed for controlled hand movements during detailed Poly Gel application and shaping.

    Reusable Professional Accessory:
    With appropriate cleaning and maintenance, the brush can be used repeatedly during professional nail enhancement services.

    Compact & Convenient:
    Easy to store in salon workstation organizers, professional nail kits, training kits, and mobile nail technician cases.

    Suitable for Professional & Training Use:
    Useful for experienced nail technicians as well as students learning Poly Gel application and shaping techniques.

    How To Use

    Step 1 – Prepare the Natural Nail
    Complete the appropriate natural nail preparation before beginning the Poly Gel application. Carefully prepare the cuticle area, remove surface shine where required, and thoroughly remove nail dust.

    Step 2 – Apply Required Preparation Products
    Apply the appropriate dehydrator, primer, base product, or other preparation products when required by the specific Poly Gel system. Always follow the manufacturer's instructions.

    Step 3 – Prepare the Poly Gel Brush
    Ensure that the brush is clean and that no previously cured product remains on or between the bristles.

    Step 4 – Dispense the Poly Gel
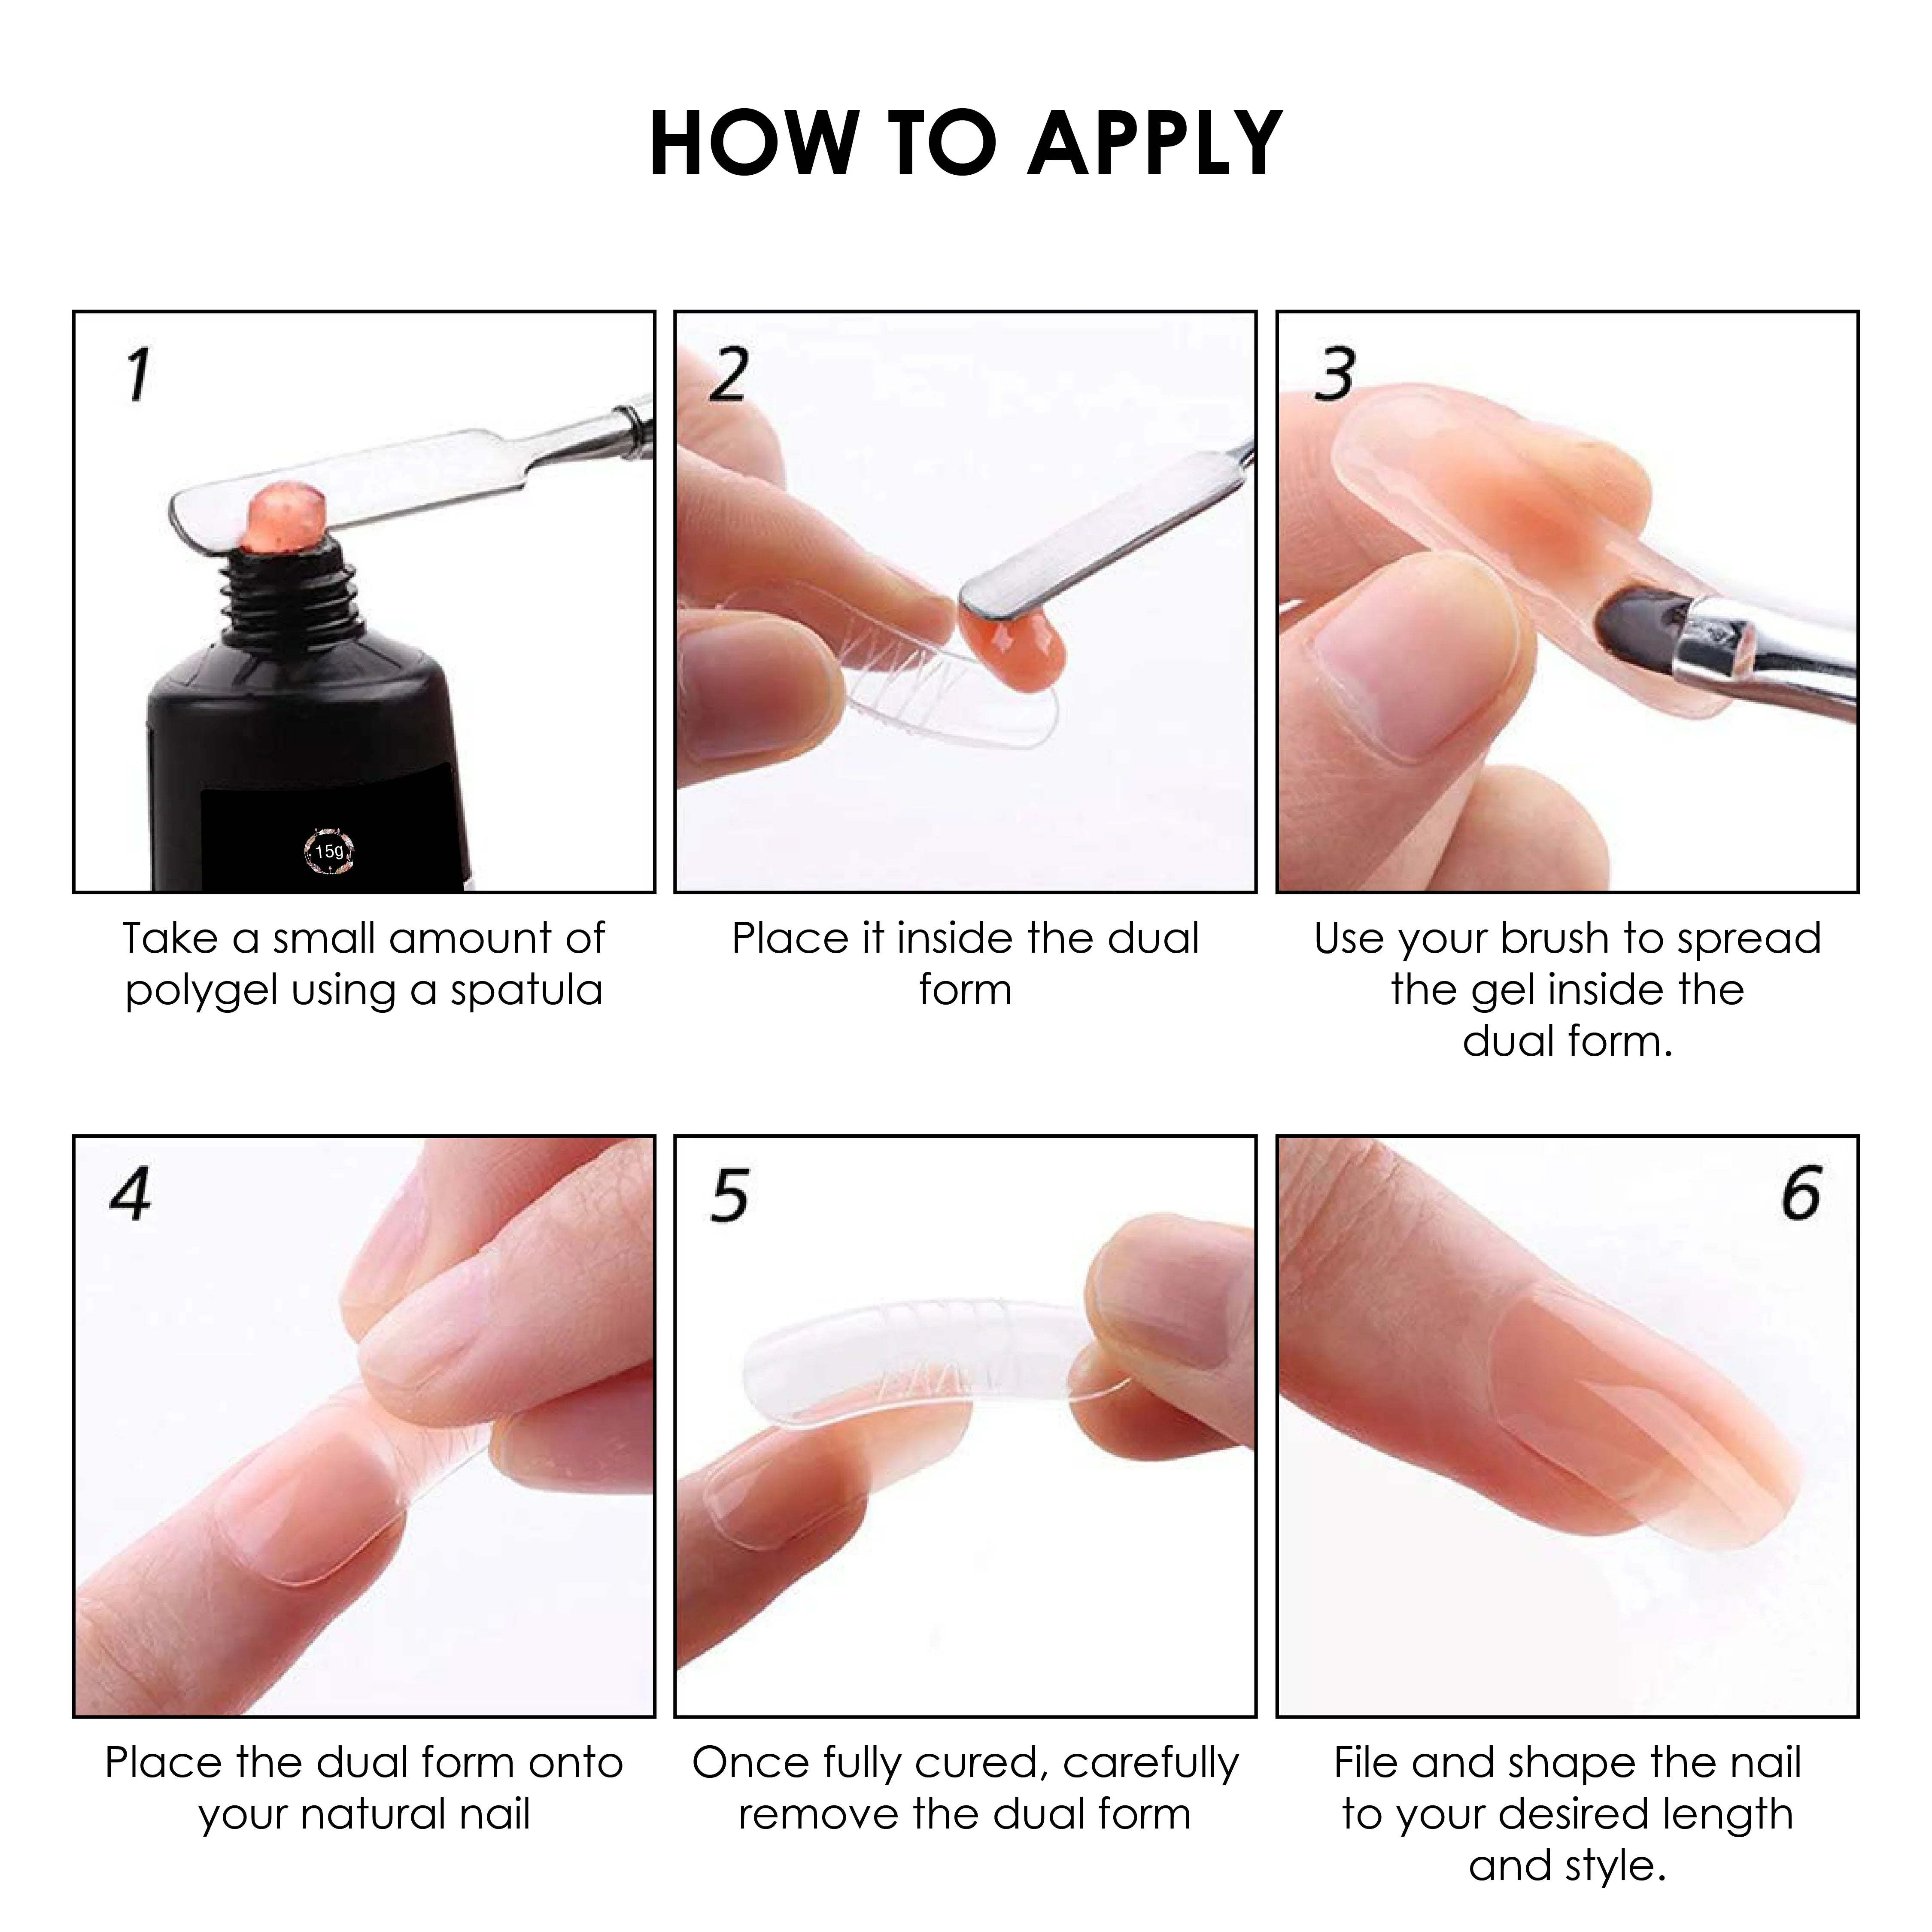
    Place the appropriate amount of Poly Gel onto the natural nail, extension, dual form, or other suitable surface according to the chosen application method.

    Step 5 – Prepare the Brush for Shaping
    If the Poly Gel system recommends using a compatible slip solution or shaping liquid, lightly prepare the brush according to the product manufacturer's instructions.

    Step 6 – Begin Spreading the Product
    Use gentle pressing and guiding movements to begin distributing the Poly Gel across the required area.

    Step 7 – Refine the Sidewalls
    Carefully guide the product toward the sidewalls while maintaining a neat outline and avoiding unnecessary product contact with the surrounding skin.

    Step 8 – Shape the Free Edge
    Continue working the Poly Gel toward the free edge to establish the required extension length, thickness, and shape.

    Step 9 – Smooth the Surface
    Use controlled brush movements to level visible unevenness and create a smoother surface before curing.

    Step 10 – Check the Nail Structure
    View the nail from the top, front, and side. Make any necessary adjustments to the product distribution and overall structure before curing.

    Step 11 – Cure the Poly Gel
    Once the desired structure has been achieved, cure the Poly Gel using the appropriate compatible UV/LED nail lamp for the time specified by the Poly Gel manufacturer.

    Step 12 – File & Finish
    After curing, perform the required filing and refinement before completing the nail enhancement with the appropriate finishing products.

    Step 13 – Clean the Brush
    Clean the brush immediately after completing the application using an appropriate brush-cleaning method or compatible product. Avoid allowing Poly Gel to cure on the bristles.

    POLICIES
    • Shipping Policy
    • Privacy Policy
    • Refund Policy
    • Terms of Service
    • Return Policy
    HELP
    • Affiliate & Influencer Collab
    • Contact Us
    • Track Order
    • Blogs
    CONNECT
    • Mon- Fri (10:00 AM to 7:00 PM)
    • customercare@shillsprofessional.com
    • 📞+91 9967764352

    Shills Professional

    Subscribe to get latest update

    • Facebook
    • Instagram
    • YouTube
    © 2026 Shills Professional. Powered by Shopify
    • Choosing a selection results in a full page refresh.
    • Opens in a new window.