Skip to content

FREE SHIPPING ON ORDERS ABOVE ₹999

  • NAIL ART
  • MAKE UP
  • HAIR CARE
  • SKIN CARE
  • TRACK ORDER
Login
Shills Professional
  • NAIL ARTNAIL ART
  • MAKE UPMAKE UP
  • HAIR CAREHAIR CARE
    • HAIR MASK

    • HAIR STRAIGHTENING CREAM

    • HAIR SPRAY

    • COLOUR HAIR SPRAY

    • HAIR WAX STICK

    • HAIR FIBER POWDER

    • SHAMPOO

  • SKIN CARESKIN CARE
  • TRACK ORDERTRACK ORDER
Login Cart 0
Cart

Your cart is currently empty.

Not sure where to start?
Try these collections:

  • CAT EYE GEL POLISH
  • MAKE-UP
  • EYE
  • HAIR
    Taxes and shipping calculated at checkout
    Subtotal
    ₹ 0
    View cart
    Recently viewed
    Search
    Home Shop All 0 Cart Account
    Wax Pencil - Shills Professional

    Wax Pencil

    ₹89 ₹99 Save ₹10

    MRP inclusive of all taxes

    Delivery within 5–7 business days
    Wax Pencil

    This site is protected by hCaptcha and the hCaptcha Privacy Policy and Terms of Service apply.

    5% Off for New Customers
    Use Code: FIRST5

    Secure
    Payment

    ₹

    COD
    Available

    Description

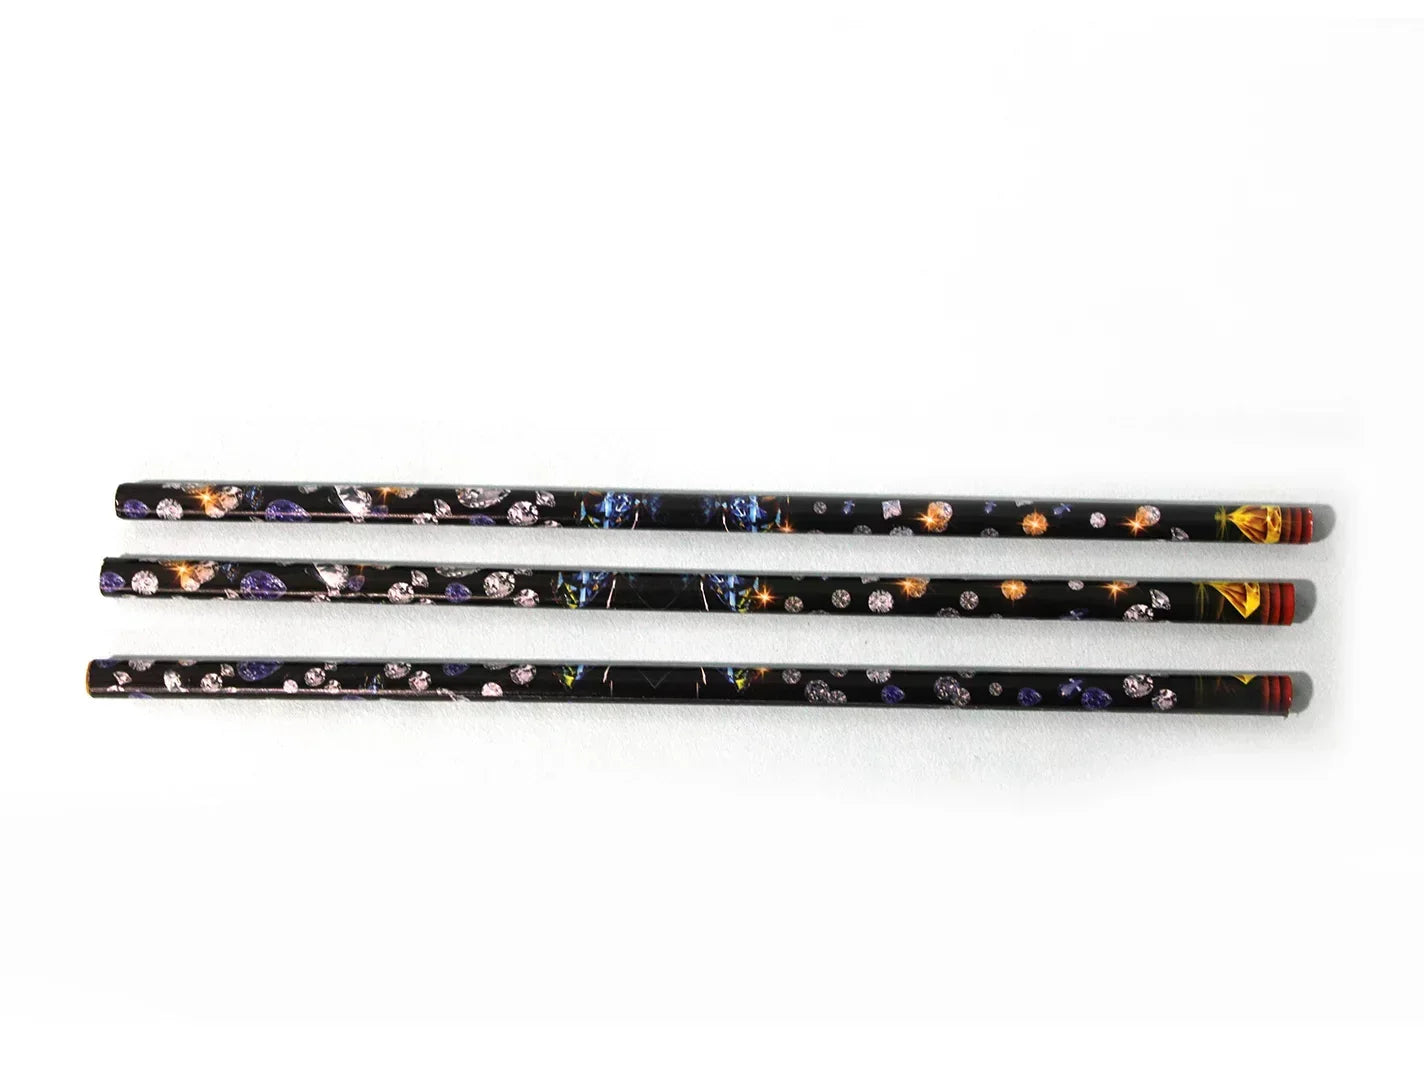
    Shills Professional Wax Pencil is a precision nail-art pickup tool designed to make handling, positioning, and arranging small nail decorations faster, cleaner, and more controlled. Featuring a wax-based pickup tip, this practical accessory allows nail technicians and artists to lift lightweight rhinestones, crystals, caviar beads, sequins, studs, and other compatible embellishments that can be difficult to grasp accurately with fingers.

    Detailed nail art often involves extremely small decorative elements. Picking these pieces up by hand can be inconvenient and may make precise placement difficult. A Wax Pencil provides a simple solution: the wax tip lightly grips the decoration so it can be transferred from a nail-art tray or organizer directly onto the intended area of the nail.

    The tool is particularly useful for rhinestone and crystal manicures. Once an appropriate gem gel, nail-art adhesive, or other compatible securing product has been applied, the Wax Pencil can pick up individual stones and position them accurately before the adhesive sets or cures.

    For caviar bead designs, the pencil can help handle individual micro beads when precise placement is required. This is especially useful for creating borders, filling small spaces around rhinestones, building jewelry-inspired patterns, or positioning beads within floral and geometric designs.

    The Wax Pencil is also convenient for working with small flat-back decorations, sequins, studs, and similar lightweight nail-art pieces. Its precision format helps reduce unnecessary finger contact with decorative surfaces and allows technicians to work more comfortably on intricate designs.

    Unlike nail glue, gem gel, or 3D adhesive, the Wax Pencil does not permanently secure decorations to the nail. Its purpose is pickup and placement. An appropriate compatible attachment product must still be used to hold the embellishment during wear.

    The pencil-style design provides familiar hand control similar to holding a drawing or writing instrument. This makes it easy to guide small decorations into exact positions and adjust arrangements before the attachment product is cured or fully set.

    Whether creating simple rhinestone accents, elaborate crystal clusters, caviar bead borders, bridal nail art, festive manicures, or luxury jewelry-inspired designs, Wax Pencil provides nail professionals with a convenient tool for precise embellishment handling and placement.

    Key Features
    Precision Nail-Art Pickup Tool: Designed for lifting and positioning small decorative embellishments.
    Wax Pickup Tip: Provides gentle temporary grip for compatible lightweight nail decorations.
    Ideal for Rhinestones: Helps pick up and place individual flat-back rhinestones accurately.
    Suitable for Crystals: Useful for arranging crystal nail-art designs and decorative clusters.
    Caviar Bead Placement: Helps position individual micro beads in detailed patterns.
    Suitable for Sequins & Studs: Can handle various small lightweight nail-art decorations.
    Controlled Pencil-Style Handling: Familiar shape supports accurate hand movements during detailed work.
    Helps Reduce Finger Contact: Allows decorations to be handled without repeatedly touching them directly.
    Useful for Detailed Designs: Ideal for borders, clusters, floral centers, geometric arrangements, and jewelry-inspired nail art.
    No Electricity Required: Simple manual tool requires no battery, charging, or nail lamp.
    No Adhesive Function: Designed for pickup and positioning rather than permanently bonding decorations.
    Professional & Training Use: Suitable for nail technicians, nail artists, beauty academies, students, and creative manicure users.

    How To Use

    Step 1 – Prepare the Nail

    Complete the required manicure, gel color, enhancement, or background nail-art design.

    Cure or set all necessary layers according to their individual instructions.

    Step 2 – Plan the Decoration Placement

    Before applying adhesive, decide where the rhinestones, crystals, beads, or other embellishments will be positioned.

    Step 3 – Prepare the Decorations

    Place the required nail-art pieces in a clean rhinestone tray, palette, or organizer with the decorative side facing upward where possible.

    Step 4 – Apply Compatible Adhesive

    Apply an appropriate gem gel, rhinestone adhesive, nail glue, or other compatible attachment product to the intended area.

    Use only the amount required for the decoration.

    Step 5 – Hold the Wax Pencil

    Grip the pencil comfortably as you would a regular writing instrument.

    Step 6 – Touch the Decoration Lightly

    Place the wax tip gently against the upper surface of the rhinestone or other compatible decoration.

    Use only enough pressure for the wax to pick it up.

    Step 7 – Lift the Decoration

    Raise the Wax Pencil carefully.

    The embellishment should remain temporarily attached to the tip.

    Step 8 – Move to the Nail

    Guide the decoration toward the prepared adhesive area.

    Step 9 – Position the Decoration

    Lower the rhinestone, crystal, bead, or stud into the intended location.

    Step 10 – Release the Decoration

    Use a gentle rolling or sideways motion if necessary to release the piece from the wax tip.

    Step 11 – Adjust the Position

    Before the adhesive sets or cures, use an appropriate precision tool to make small placement adjustments where necessary.

    Step 12 – Secure the Design

    If using UV/LED-curable gem gel, cure according to its instructions.

    If using air-setting nail glue, allow the adhesive to bond completely.

    POLICIES
    • Shipping Policy
    • Privacy Policy
    • Refund Policy
    • Terms of Service
    • Return Policy
    HELP
    • Affiliate & Influencer Collab
    • Contact Us
    • Track Order
    • Blogs
    CONNECT
    • Mon- Fri (10:00 AM to 7:00 PM)
    • customercare@shillsprofessional.com
    • 📞+91 9967764352

    Shills Professional

    Subscribe to get latest update

    • Facebook
    • Instagram
    • YouTube
    © 2026 Shills Professional. Powered by Shopify
    • Choosing a selection results in a full page refresh.
    • Opens in a new window.